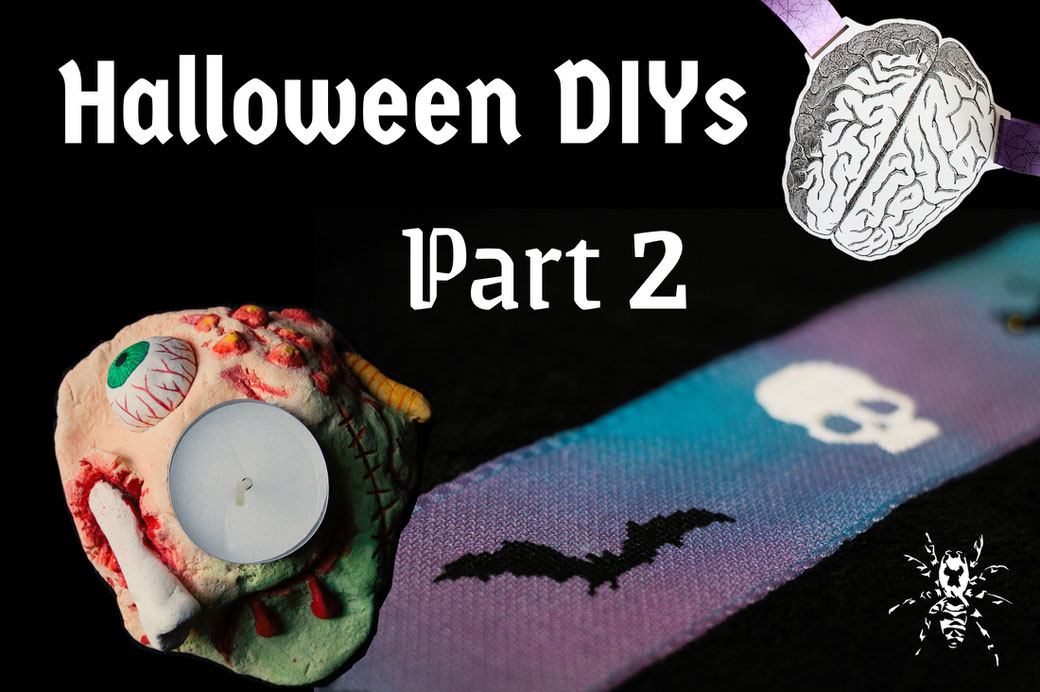
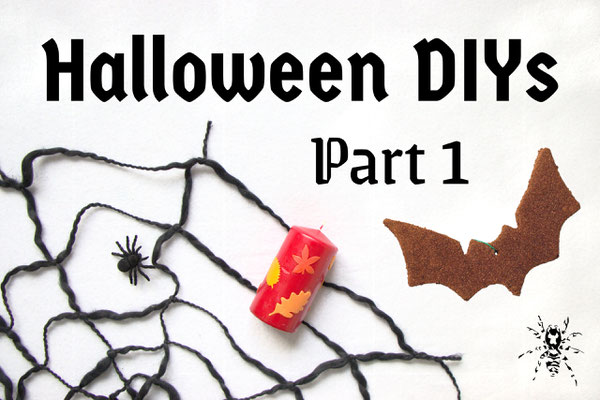
As promised, here is the second part of the Halloween DIY projects from the last years
now translated. There is a printable garland if you're into paper crafts or prefer something quick and easy. When you don't mind getting your hands dirty, try modelling a horror-themed
candle holder. If you have more time and like needlework, be inspired by the cross-stitch towel project.
Halloween Paper Garland (Free Printable)
It's amazing what you can buy as Halloween decorations now. Every year I have to hold back a little more to not buy more "useless
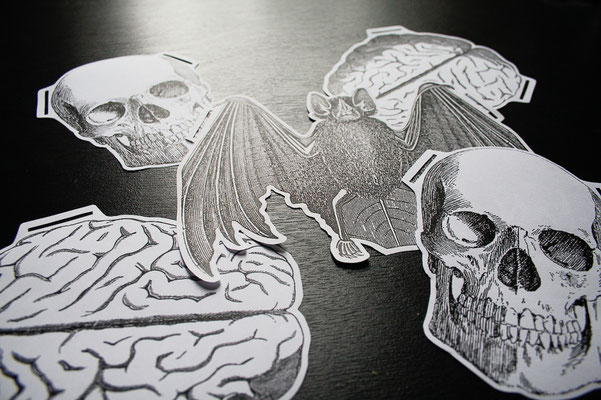
stuff" made of plastic, and I'm also thinking about using more natural materials for my projects. I found some vintage images of anatomical drawings and thought
they would make a pretty paper garland with just a few alterations in my graphics program.
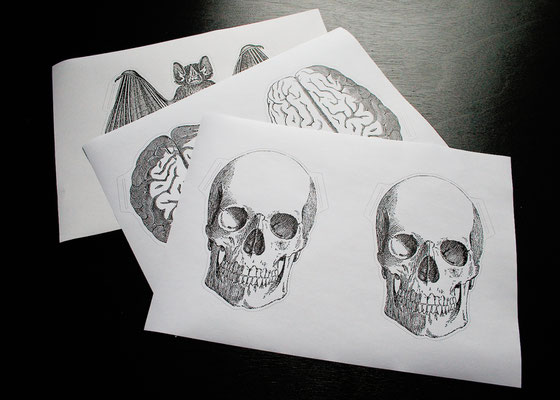
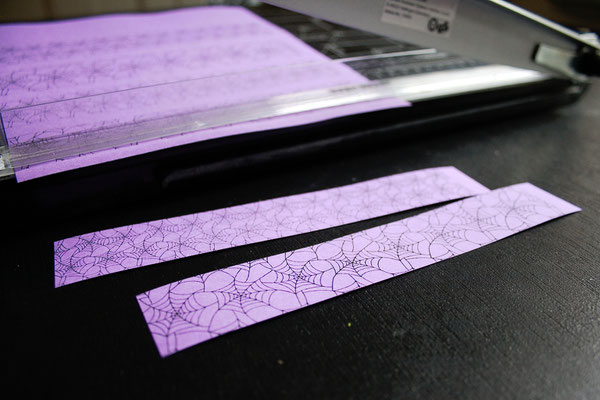
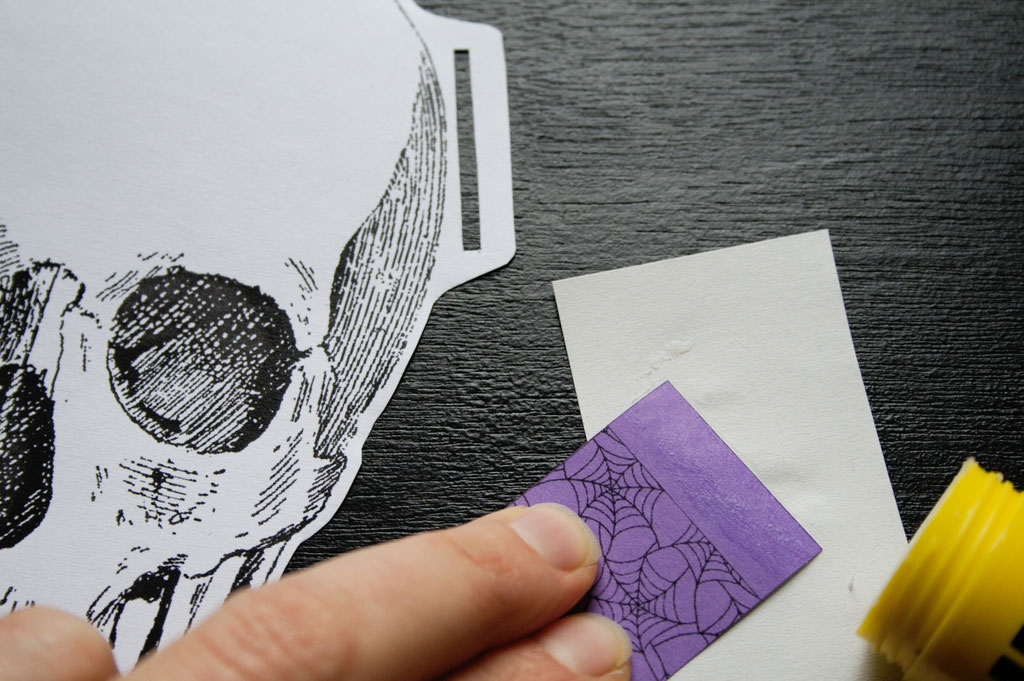
I used regular printing paper but can also print on something thicker, e.g. 100gsm. It looks incredibly cool when the spacers have a
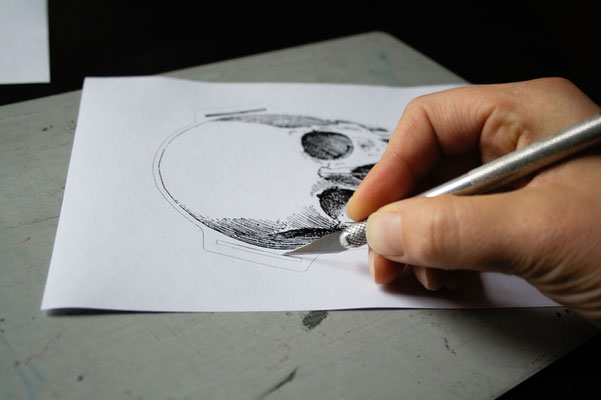
different colour. I still had a purple sheet for the stripes with my self-designed cobweb pattern. The slots for the connections are best cut out with a craft knife
first. Then you don't have to be particularly precise with the scissors; just cut between the motif and the thin line.
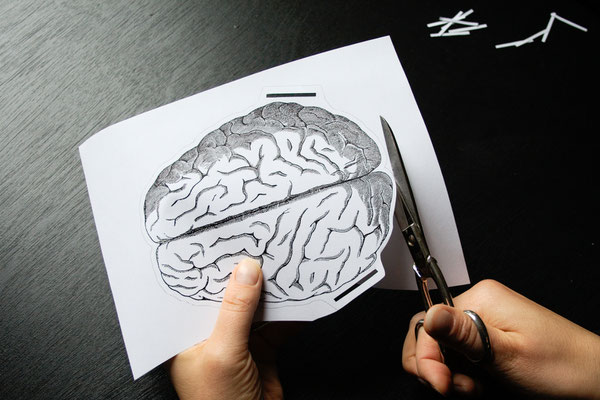
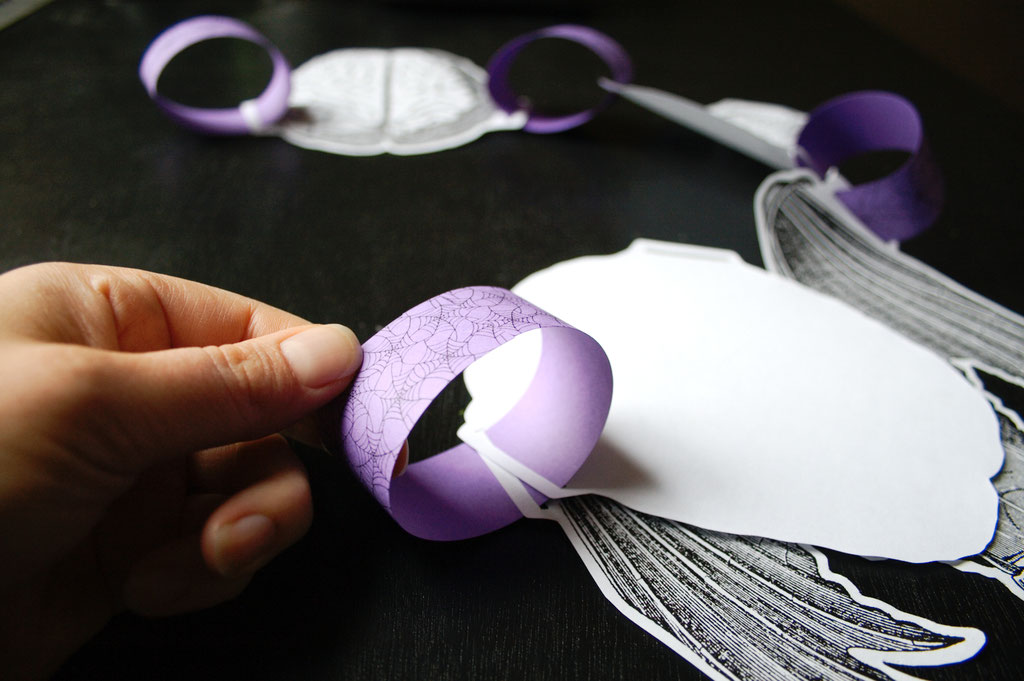
Only the bat is a bit trickier with its many small curves, so nail scissors are recommended. Pull the strips lengthways over the edge of a table to bend. Then, connect the motifs with the paper rings to form a chain. I used a glue stick, but it also works with scotch tape or something similar (the unpatterned box is for the glue.) I pressed the rings a little flat so that the whole thing hung nicer.
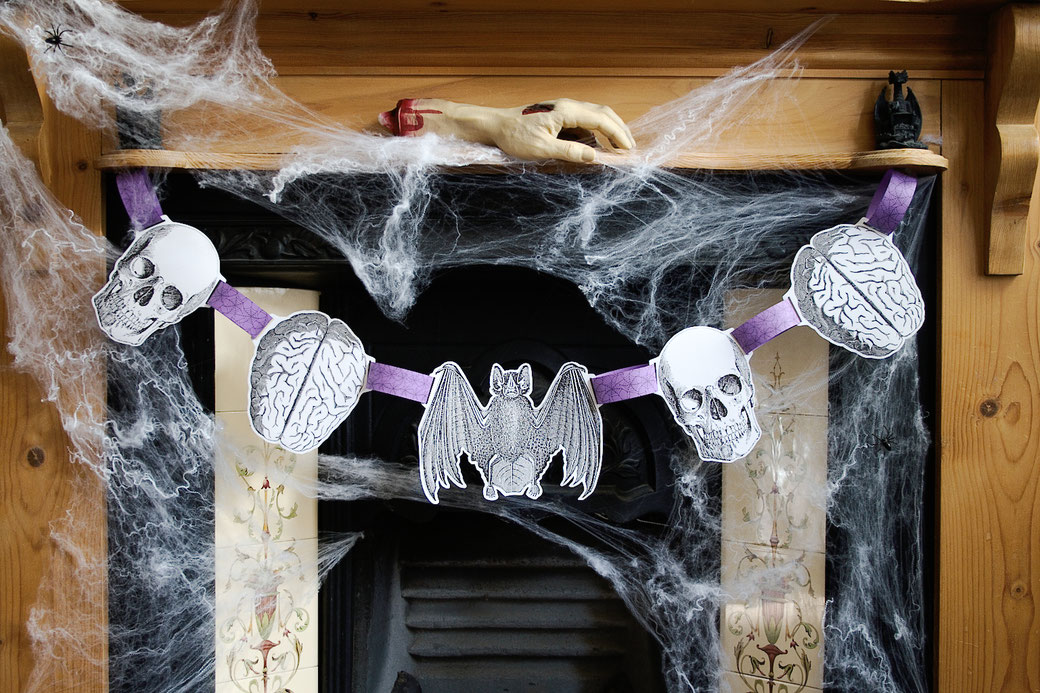
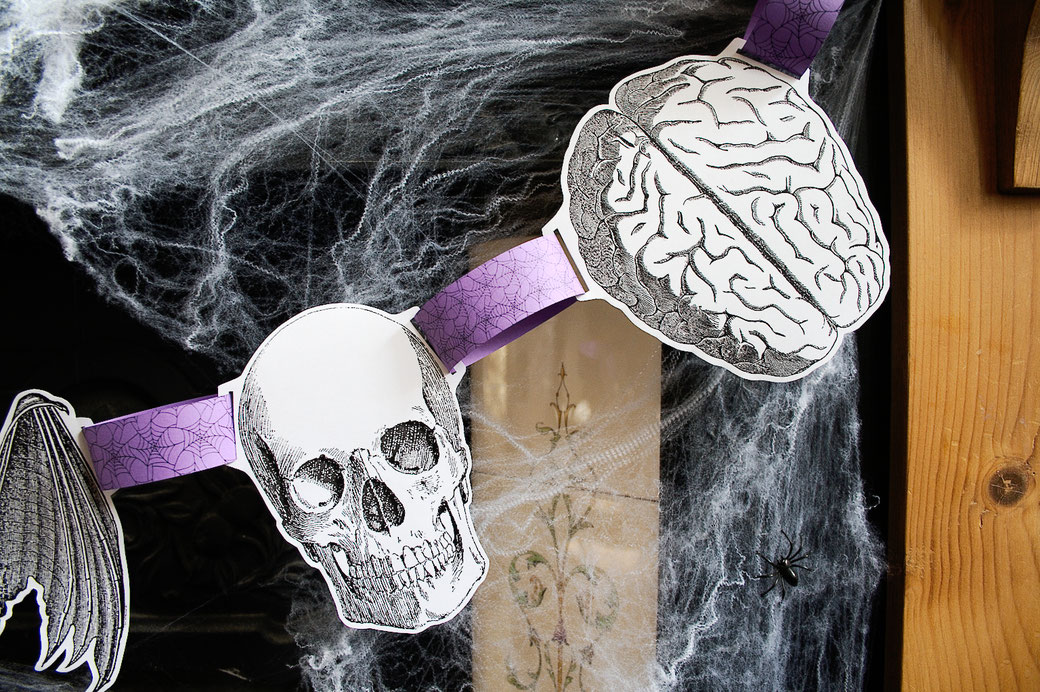
I had the garland up on the fireplace (which is otherwise a bit ugly.) It will indeed look good on a wall or in the window as well. Your garland can also have a
completely different composition. Maybe you like the brains in pink with red blood splatters as horror-themed decorations or just skulls on yellowed paper for a pirate party? The bat also has an
upside-down version in the pdf file.
Halloween Paper Garland (Free Printable)
Template for a paper garland as a Halloween decoration. Simply open the PDF file with Adobe Reader or another PDF program and print it out (landscape format).
Horror Candle Holder - Salt dough or modelling clay
Another Halloween decoration from 2016, when I had most of my many crafting materials in storage. So I used what I had: my
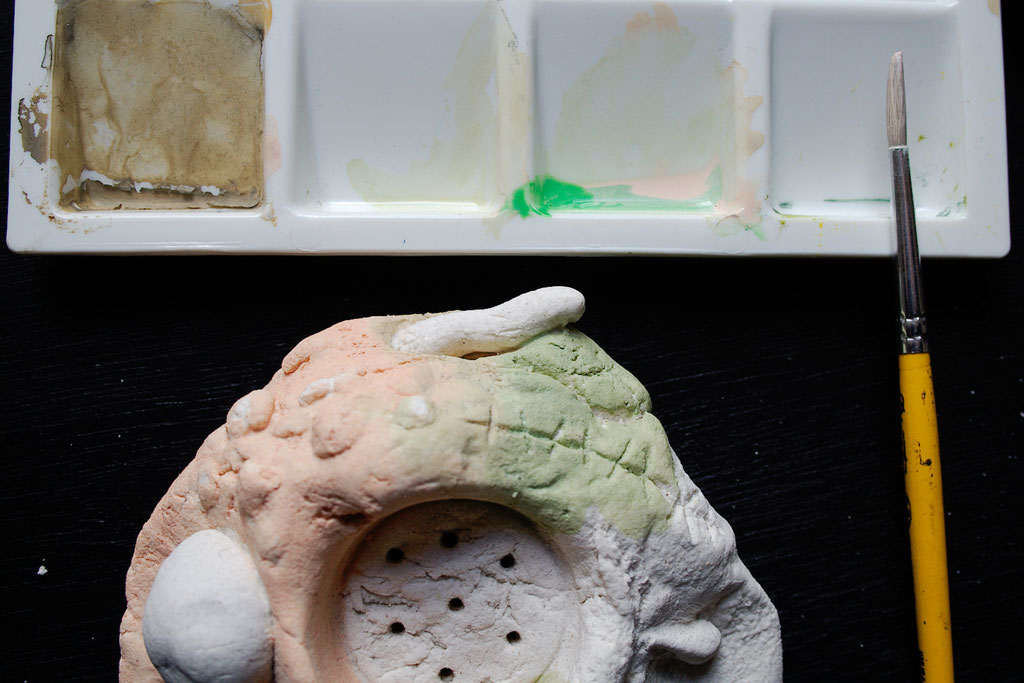
watercolour paints and the ingredients for salt dough. It would work better with white air drying modelling clay, but more on that later. To paint the tea light
holder later, you can use watercolours, gouache or acrylic paints; that's also up to you.
If you decide on the salt dough, here's what I used: 150 g of flour, 50 g starch, 100 g of salt, 100 ml of water and a few drops of oil. Hot water is supposed to
make the dough a little finer, but the salt does not entirely dissolve. Fine-grain salt made all the difference for me, so I was able to model finer details. The dough was pretty crumbly at
first, so I added more water until it was smooth.
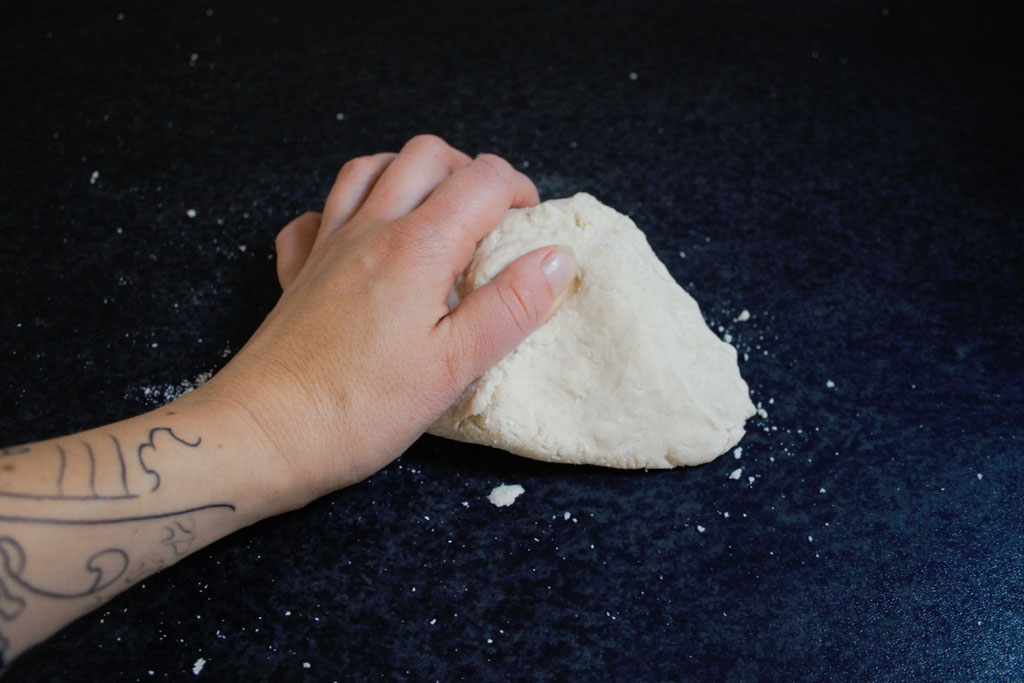
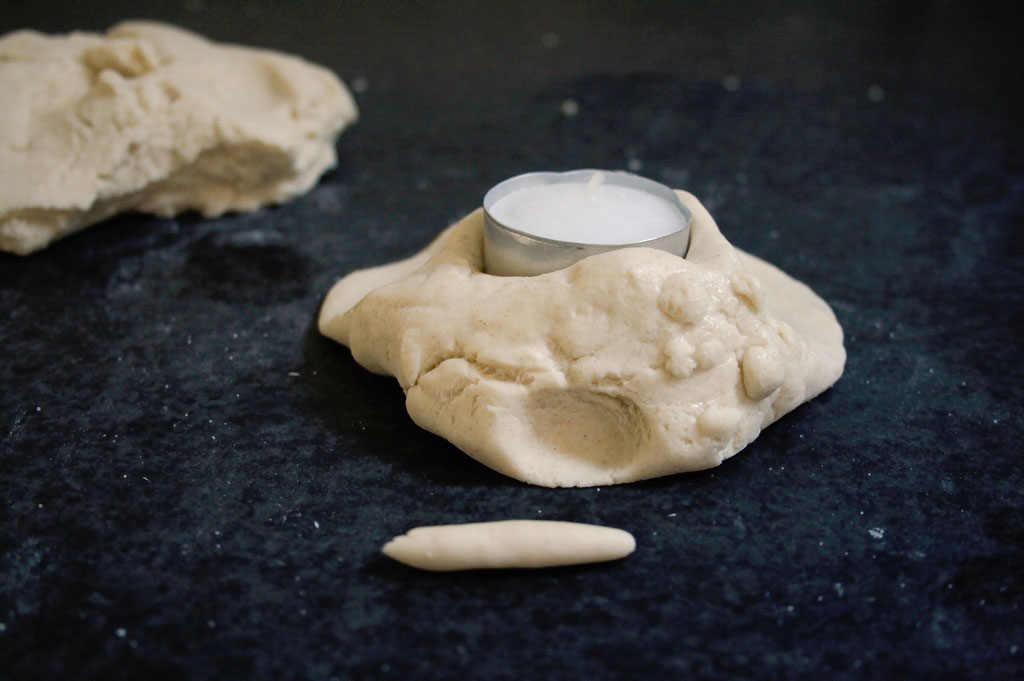
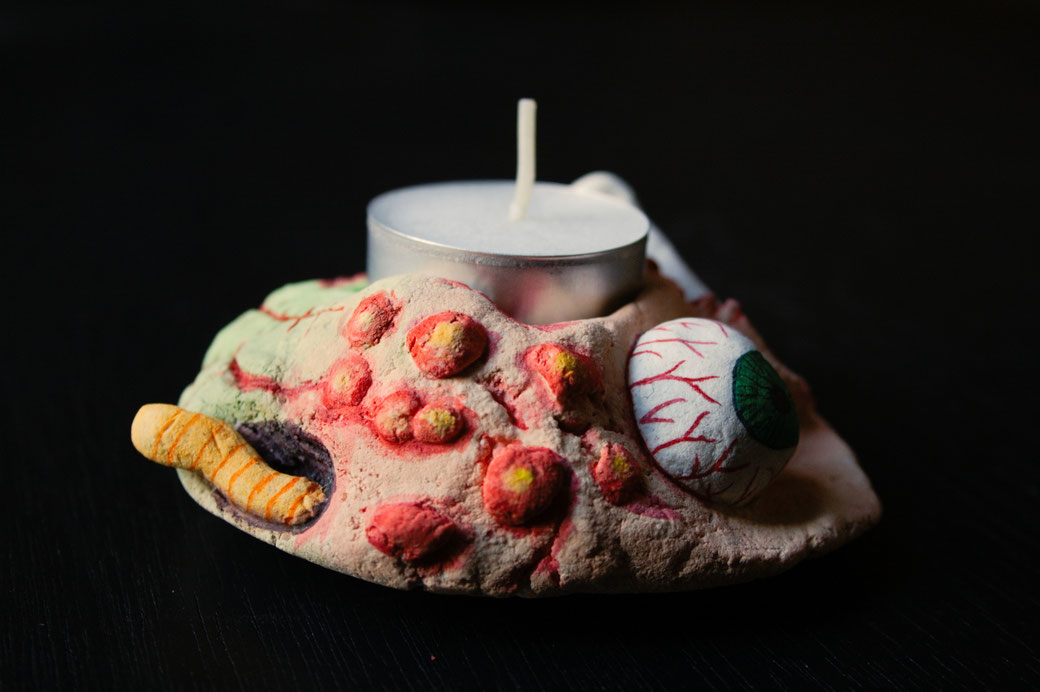
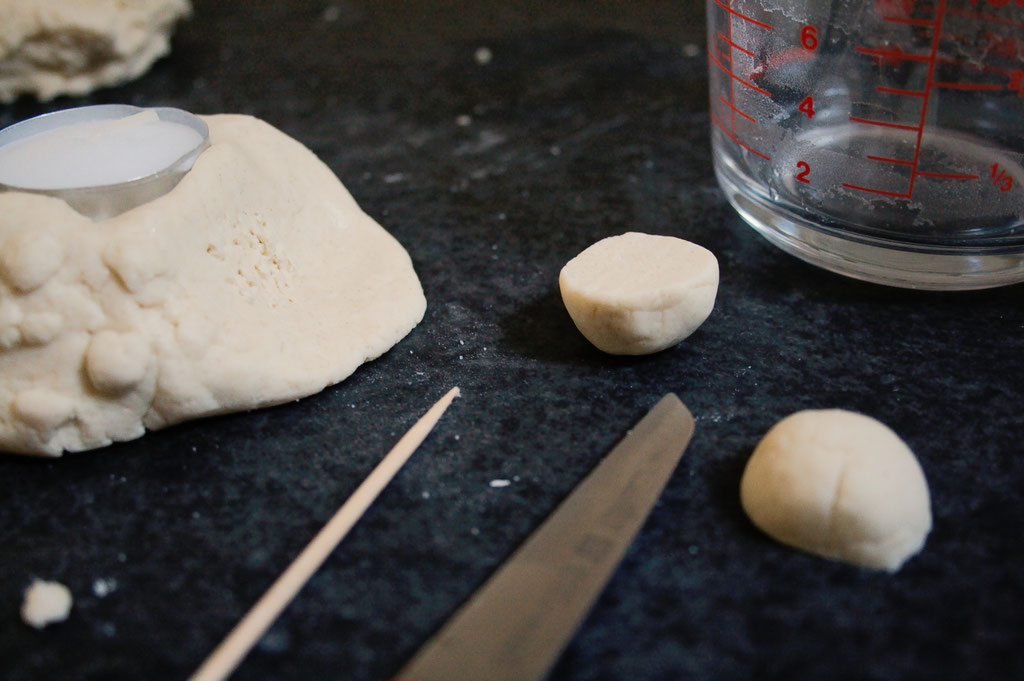
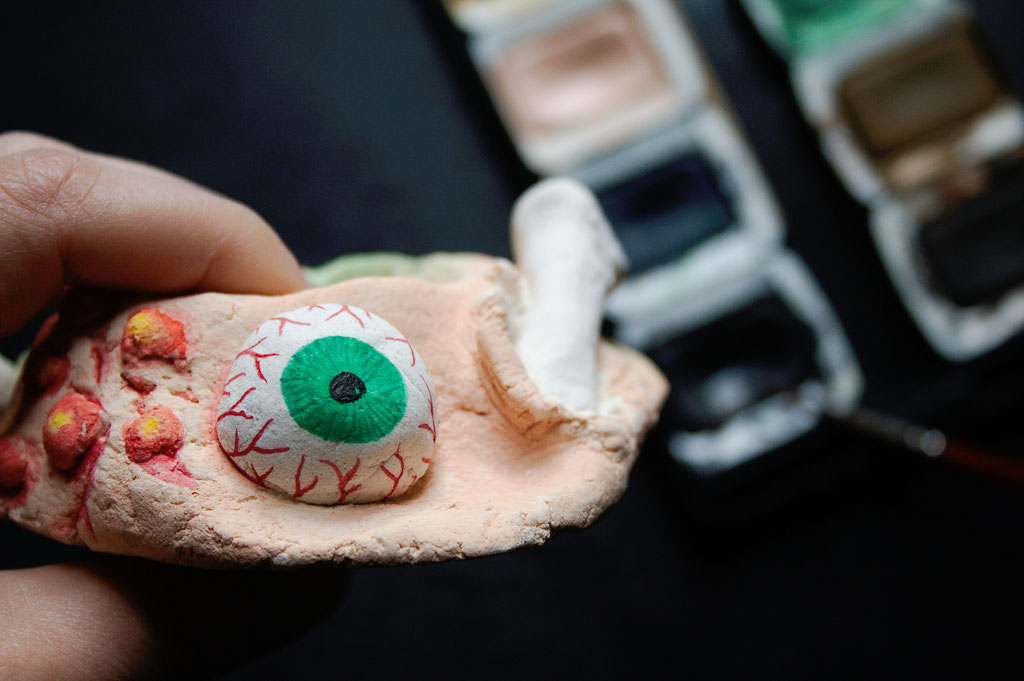
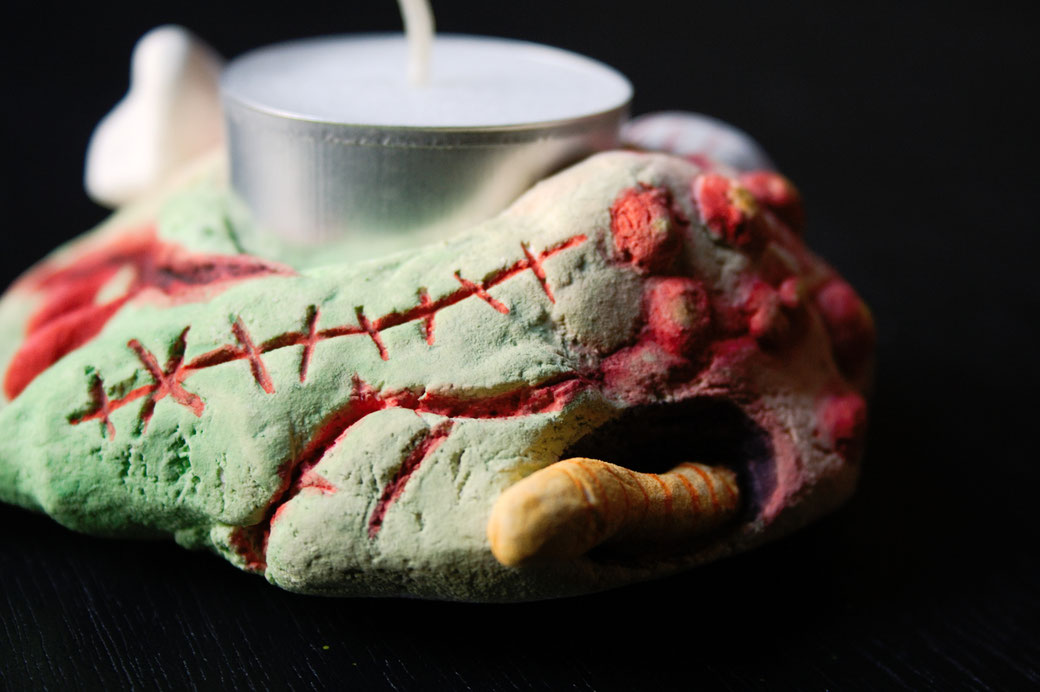
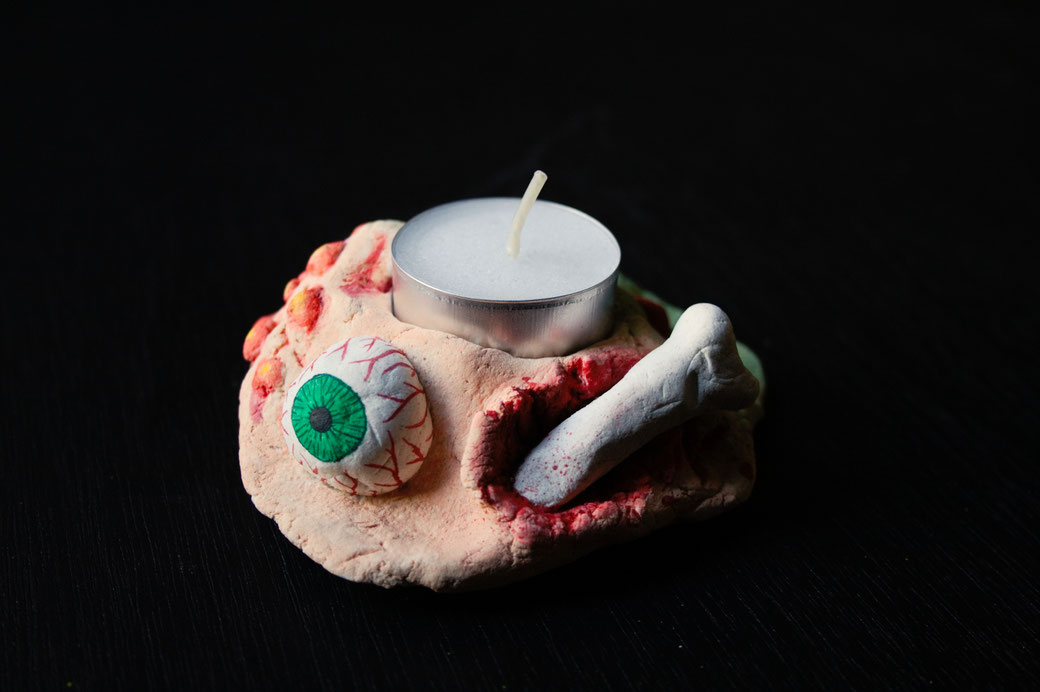
For the creepy candle holder, I started with a misshaped lump and pressed tea light into the top. The design includes scars and open wounds, pimples, a
worm, protruding bones and an eye. The salt dough should actually dry for at least 1-2 days before baking - or entirely because it's much more gentle. According to most instructions,
bake at 60-80° C for 1 hour and then slowly turn up the temperature.
I used a set of kid's watercolours for painting that luckily came with a light skin tone. I gradually added green to this and primed the meatball all around for a
zombie-like colour. I also used different shades of red for a beautifully bloody look. A fine brush (and a steady hand) helped me a lot with the details. Clear varnish makes the salt dough and
painting durable afterwards.
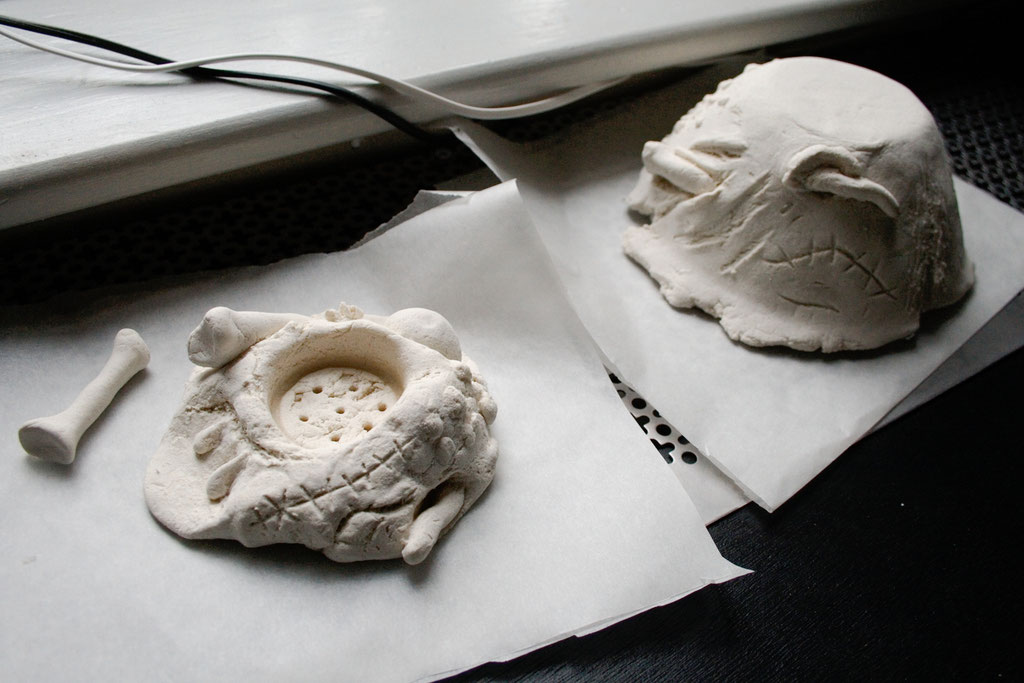
You might need to carve a bit for the tealight to fit in as the whole thing shrinks a bit while drying. I was impatient with the air drying and baked
it another 2-4 hours at 100-120°C because the candle holder is such a big chunk. I enjoyed this creepy piece for a few years, but unfortunately, it broke eventually. Maybe because
of the heat or the salt dough was too crumbly.
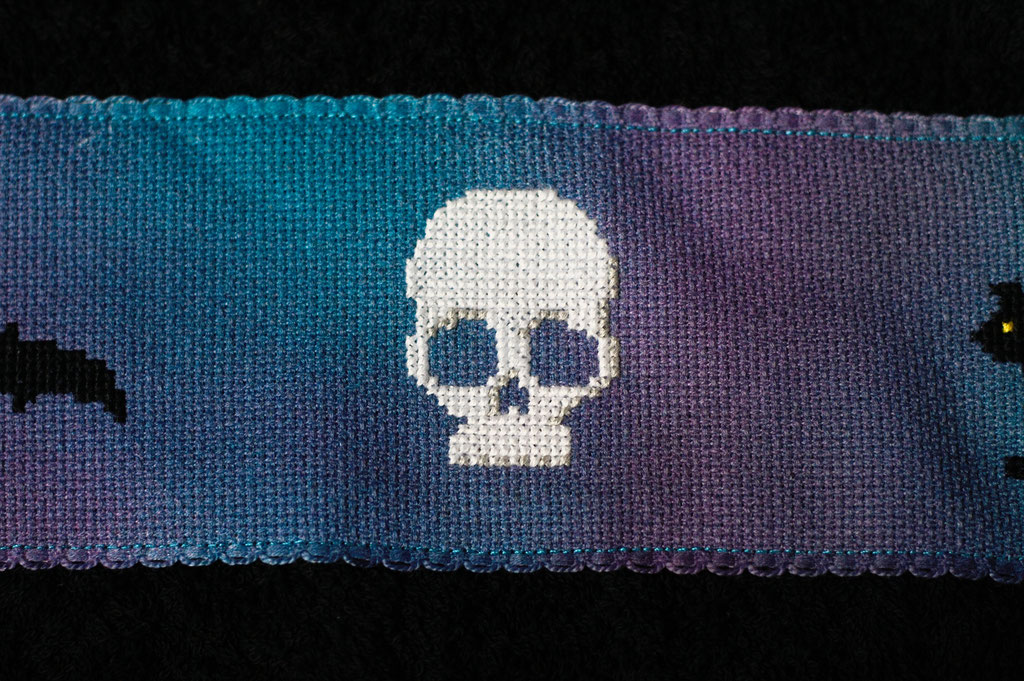
Halloween Cross-stitch Towel
This was a gift I made for a Halloween gift swap a few years ago. It is undoubtedly a little more time consuming to make, but it's also pretty
and practical all year round. Needlecrafts on the sofa in the evening are so relaxing and perfect for the season, right? You only need a (black) towel, Aida fabric, fabric
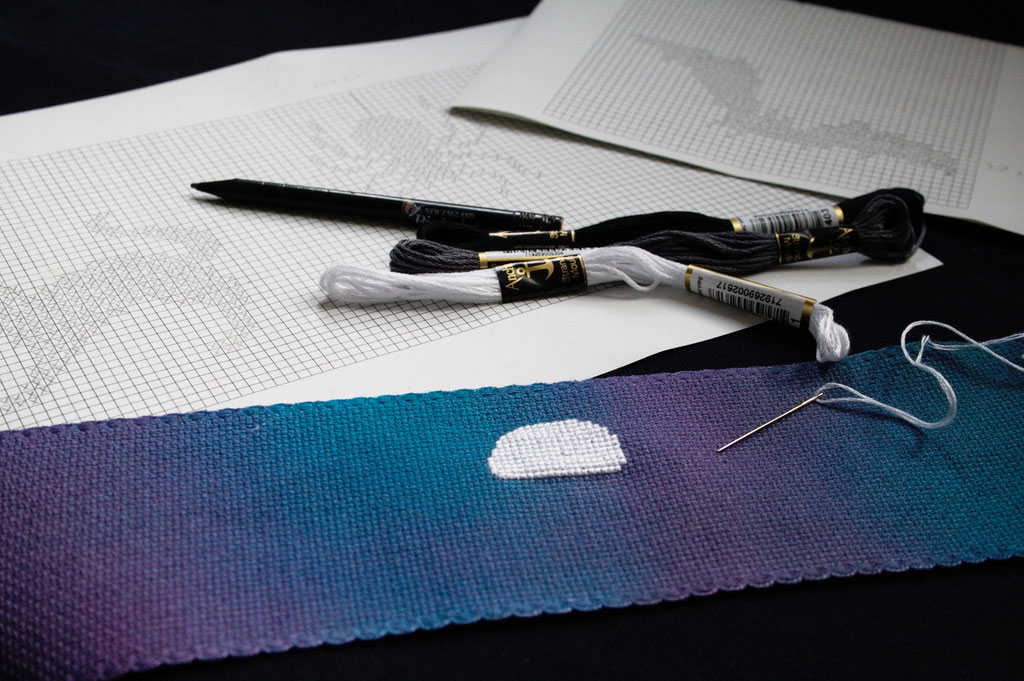
paint and four colours of embroidery thread - white, black, yellow and grey.
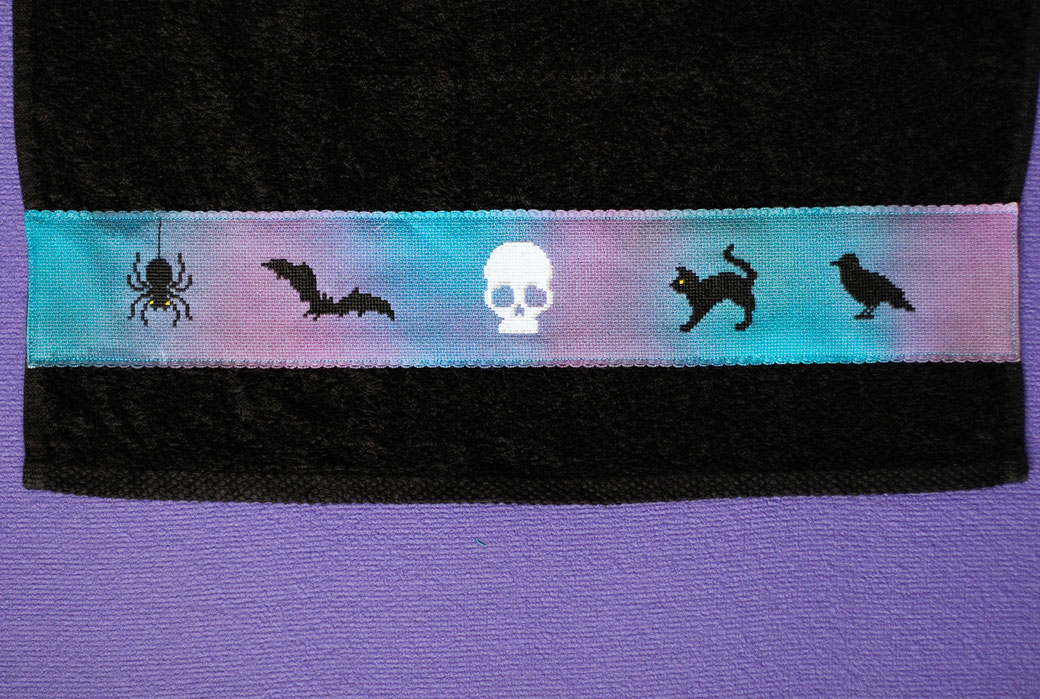
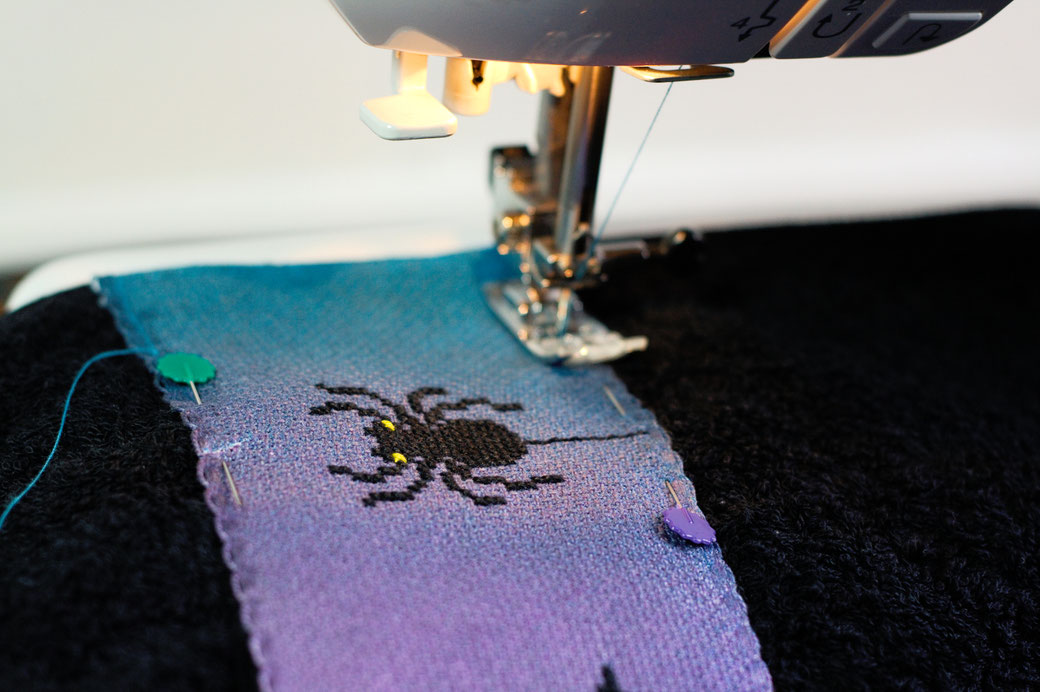
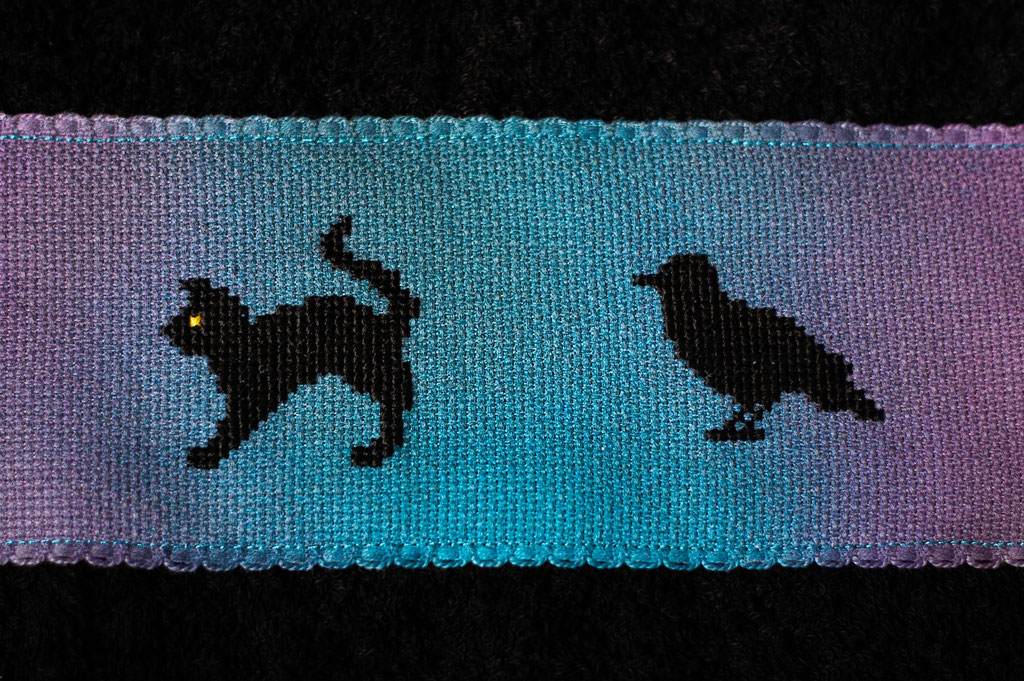
Ravens, bats, cats and skulls were on the favourites list of my giftee. I browsed through Pinterest one evening and pinned some Halloween cross-stitch designs. I
transferred them on small squared paper that I printed myself and changed almost all of them a little until I was satisfied. I even drew the raven myself, as I couldn't find a template in the
correct size.
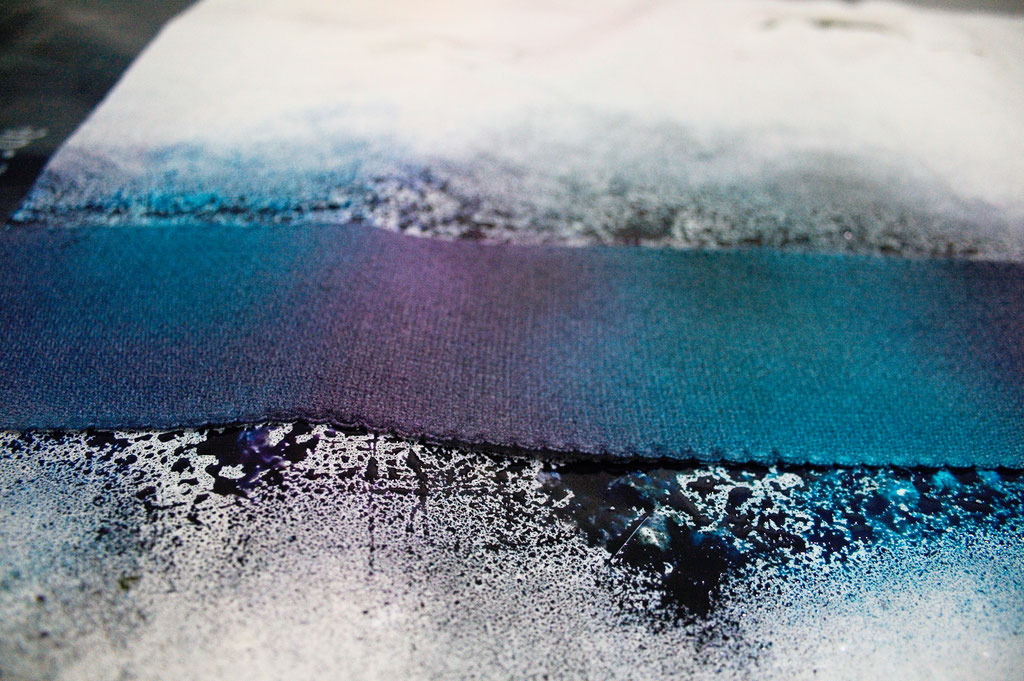
The problem now was that the animals should all be black, but the skull white and light grey. Aida fabric is only available in white or black (ok, pastel
colours, urgh), so I bought white cloth for dyeing. I ended up using a wide ribbon because the pre-cut fabric was too small for the width of the towel. I sprayed it with purple, petrol and
black textile paint.
I didn't use a hoop for stitching as I didn't have one small enough, but it was alright. To evenly distribute all motives, I started with the skull in the middle and
counted a lot back and forth to balance the others with their slightly different sizes. You could do only skulls, bats in different sizes or whatever you feel inspired by. Let me know if you are
interested in the raven pattern!
I love how all of these turned out, even if I don't have them anymore for different reasons - would make them again any time! What project do you like best? And
what are your plans for Halloween?
Zebraspider Updates
Don't miss any new one-of-a-kind design! Be the first to know about shop updates, events and the best blog posts by joining the email list!
You may also be interested in:


Write a comment
Anett (Friday, 15 October 2021 22:14)
The towel is awesome. Finding beautiful towels is hard. And so you can just pimp one yourself.
I wouldn't be able to mold salt dough. ^.^
Janina (Saturday, 16 October 2021 12:12)
Thank you very much, Anett! And if you don't stitch, you can also paint them ;)