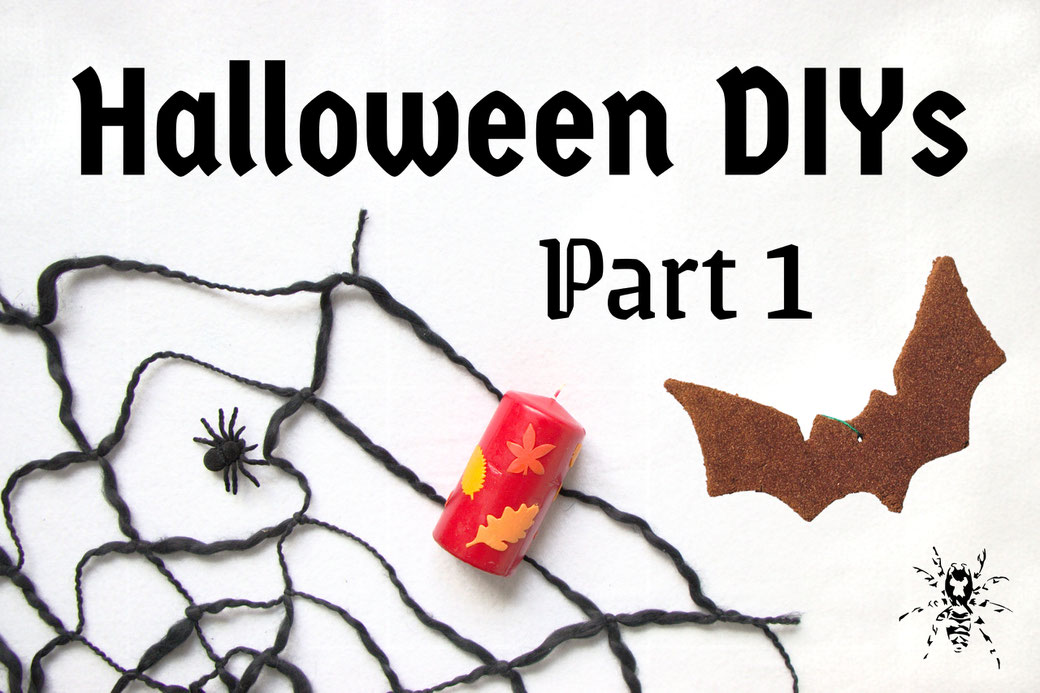
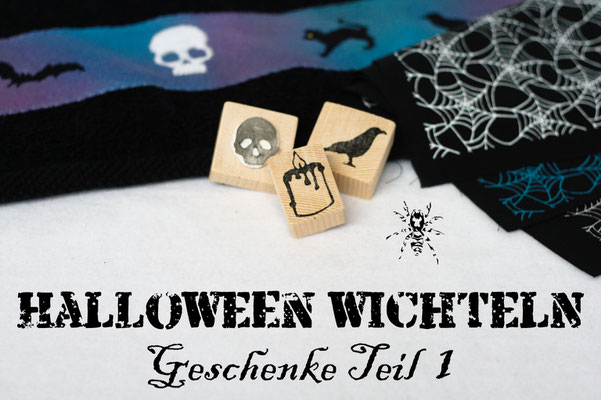
I know it's only September for some, but others are already in full Halloween mode. I'm somewhere in between and have started decorating and thinking about
projects. I'm not sure if I will finish any in time for the blog, but I have published so many popular DIY tutorials over the years - it's time for a translation. This is the first part,
including candles, a giant spiderweb and cinnamon bats.
Candle Decorations
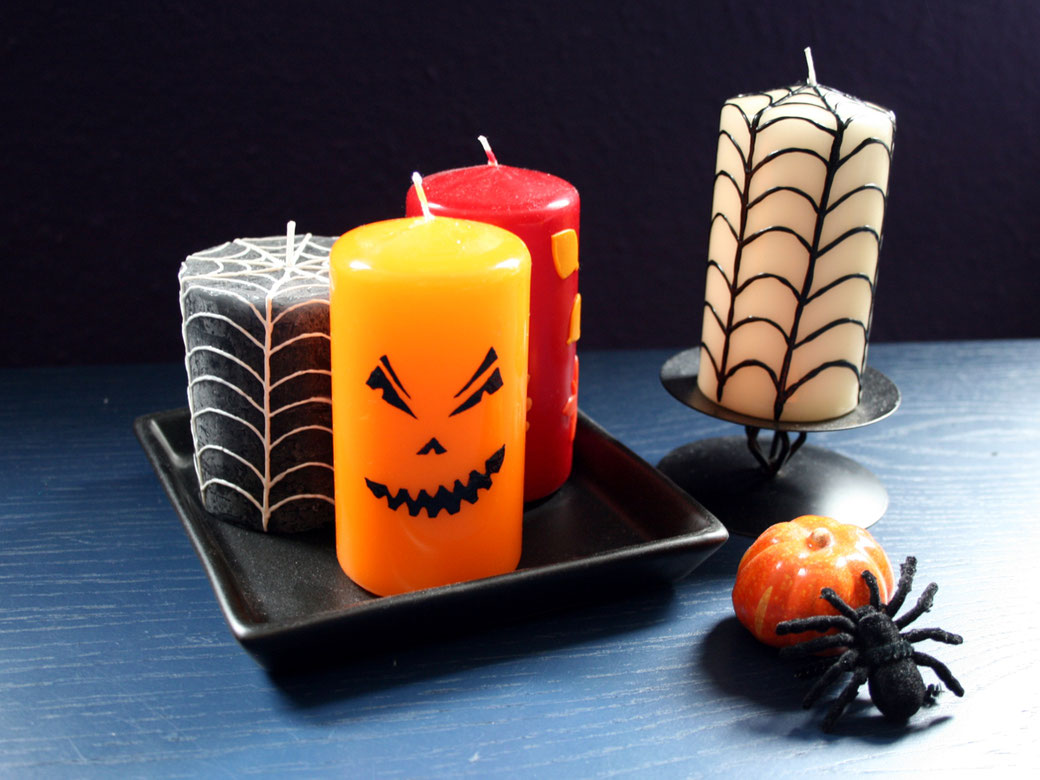
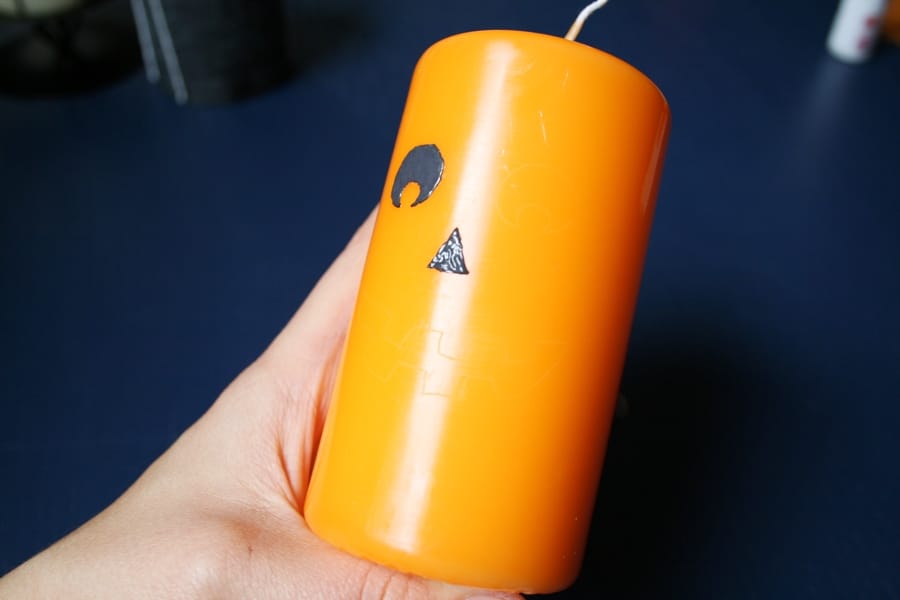
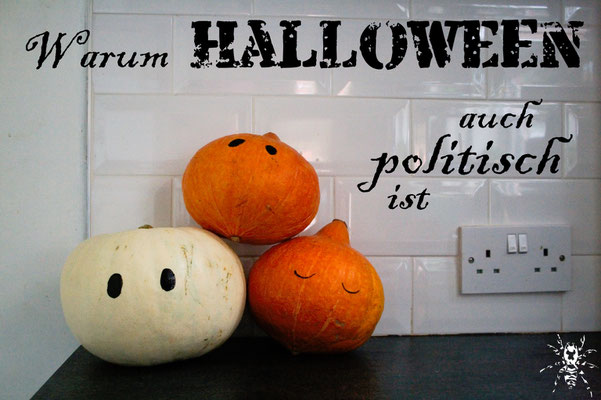
Jack-o-Lantern candle
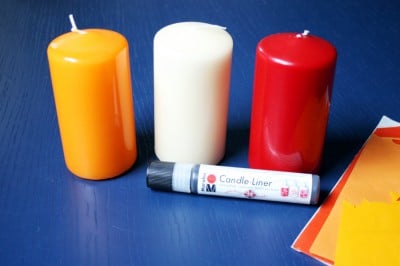
For the Jack-o-Lantern candle, you only need an orange candle and black paint. Hold the printed template to the candle and trace the
lines with a needle to get the face onto the candle. Then you can colour in the marked lines with black candle paint. You can use a fine paint tip or spread the
paint into the corners with a needle to get the finer points. After drying, I also painted the other face on the back.


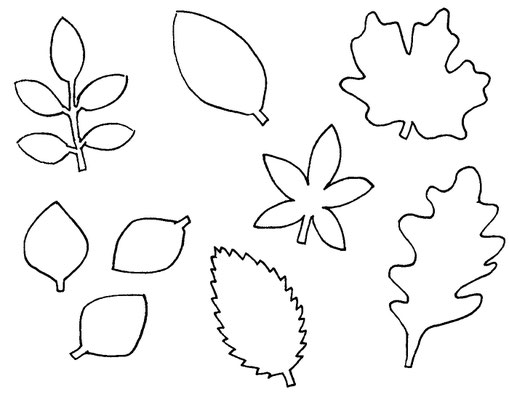
Autumn Leafs Candle
The leaf candle can be designed in different colours; I used a red candle and yellow/orange wax sheets. You can print out my template in
the appropriate size or draw your own. Cut out the leaves from the template and place them on the wax sheets. You can cut it out directly with a sharp knife, or you
can mark the outline first. Arrange the leaves on the candle however you like and press on firmly.


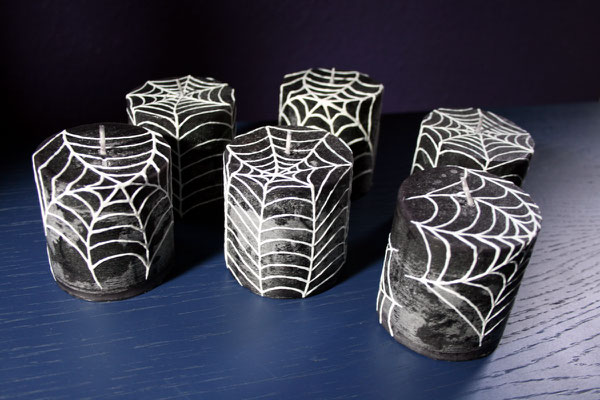
Spiderweb Candle
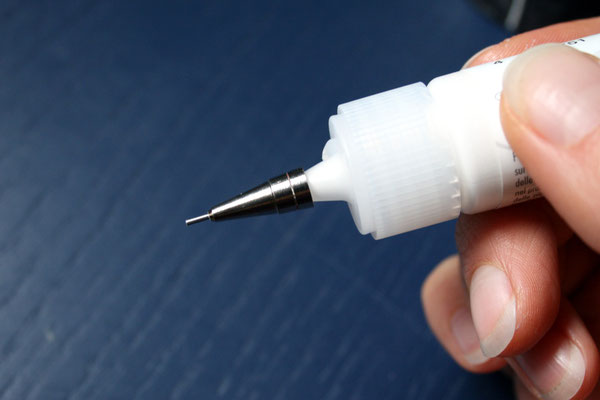
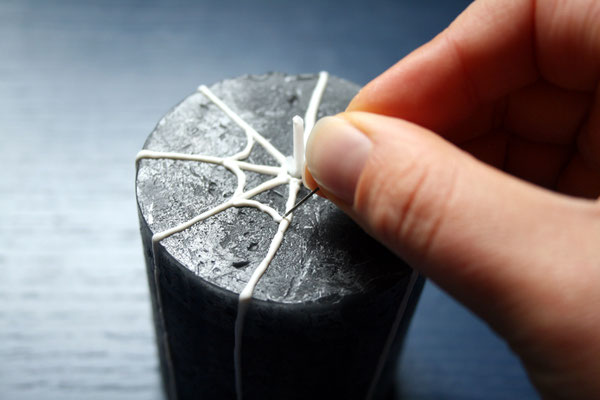
My spiderweb candles are white on black, but you can use any colour you like. Painting the spiderwebs free-hand might seem a bit
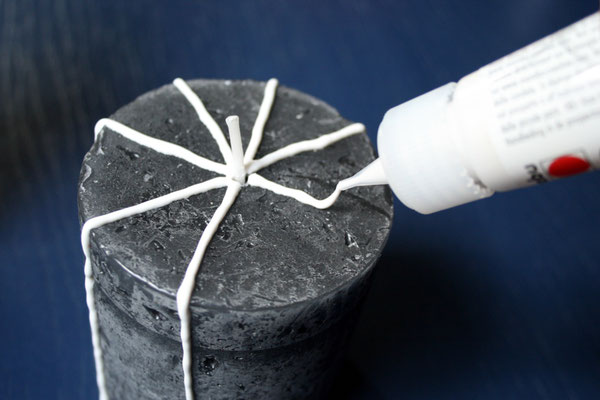
daunting, so here's a tip for these tube colours: The best way to achieve straight lines is to hold the bottle tip a little over the candle and let the paint fall down
in one strand. It's even easier to get fine lines with a 0.5 mm paint tip. I touched up the details again with a pin.
Giant Spiderweb
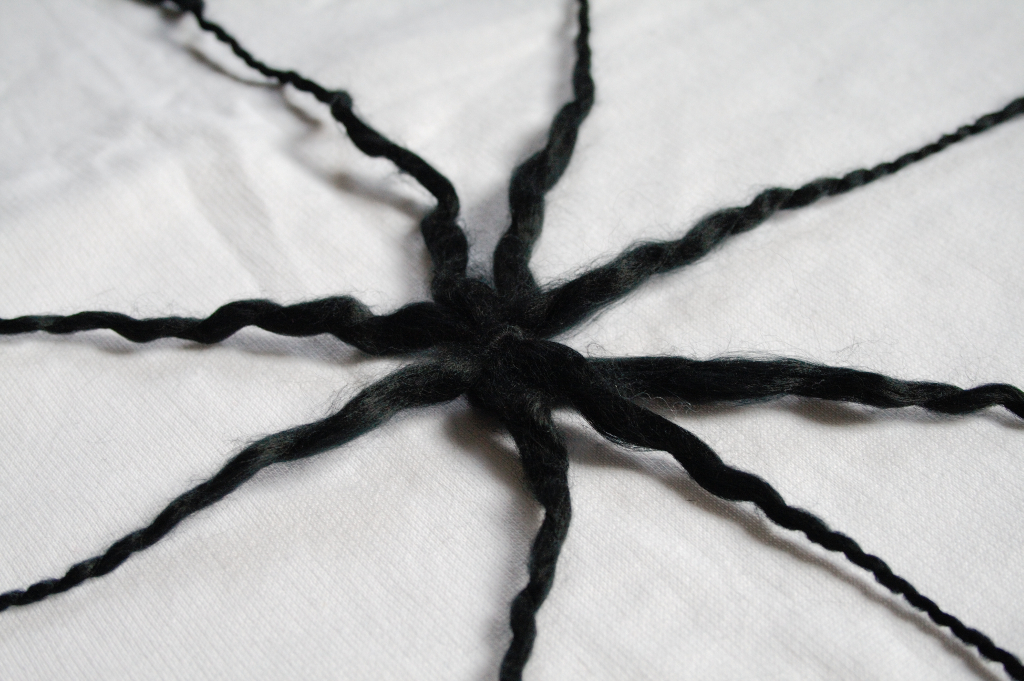
There's so much Halloween stuff you can easily buy nowadays, but it's not as fun as a quick and easy DIY project. For this one, you just
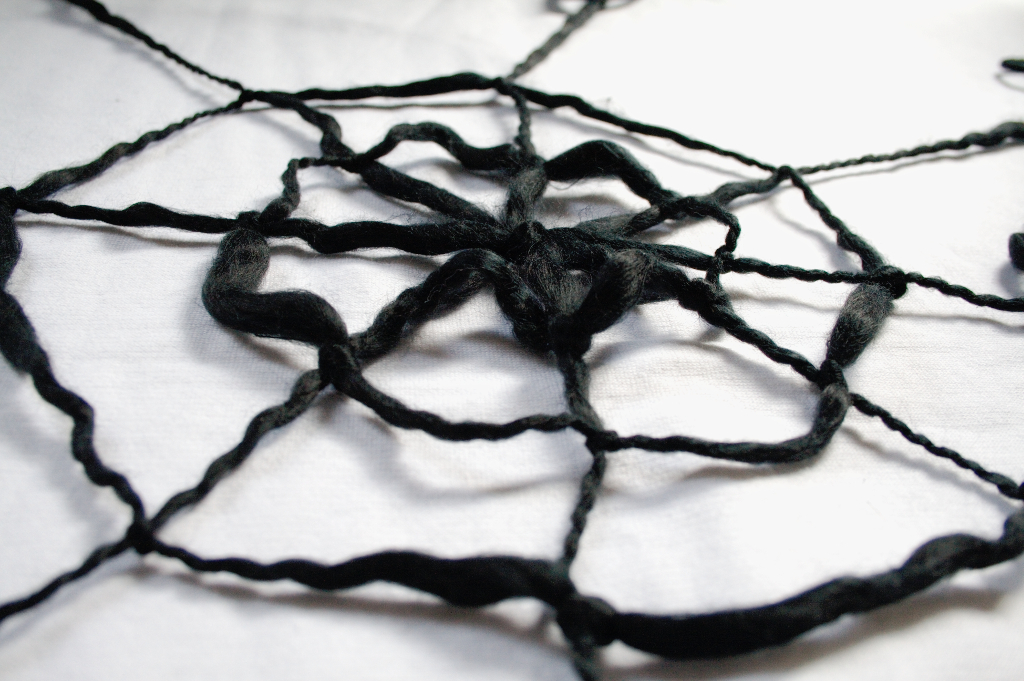
need some black wool that isn't too thin. If your walls are dark, white will look amazing too. I used a very cheap acrylic yarn from my stash with an interesting thick
and thin structure. First, cut off four pieces of equal length and knot them together in the middle.

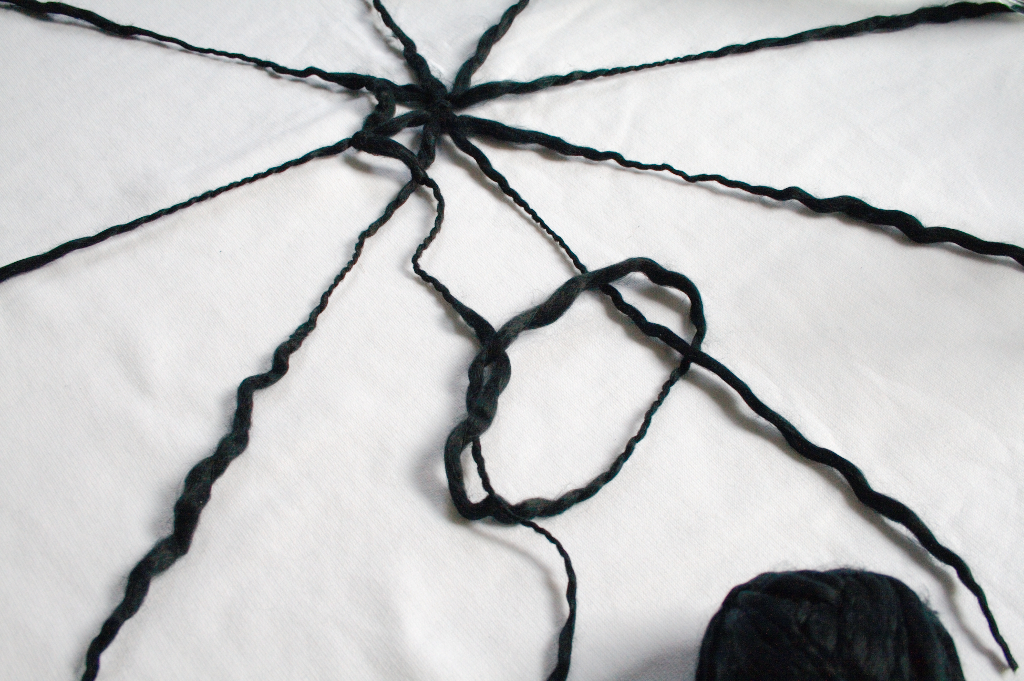
As in nature, the spiral is made from the inside out. The easiest way to do this is to first make a loop, slide it over an end and then tighten the knot in
place. It's all just knotted, so the net can easily be moved, corrected or opened completely again to use the wool for something else. But it didn't really use a lot of yarn. This will
certainly work as a last-minute party decoration.
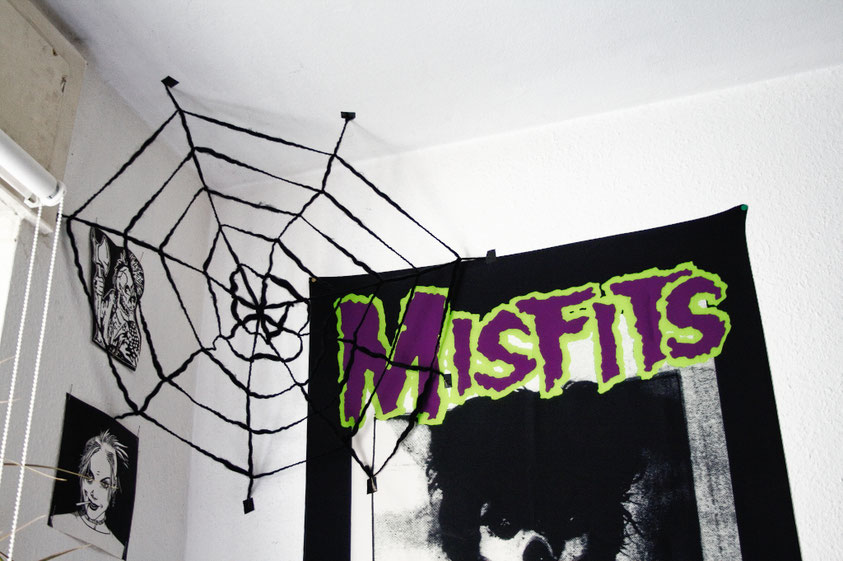
To hang it up, I used tape - white would have looked batter, I guess, but the spiderweb stayed there until I moved out of the flat. Now, it is draped over a
lampshade, also looking great. (Just make sure it's not too close to the lamp itself and doesn't get hot.) Maybe you find a spider in a matching size to add. You could also hand it in to
a window or over a bookshelf.
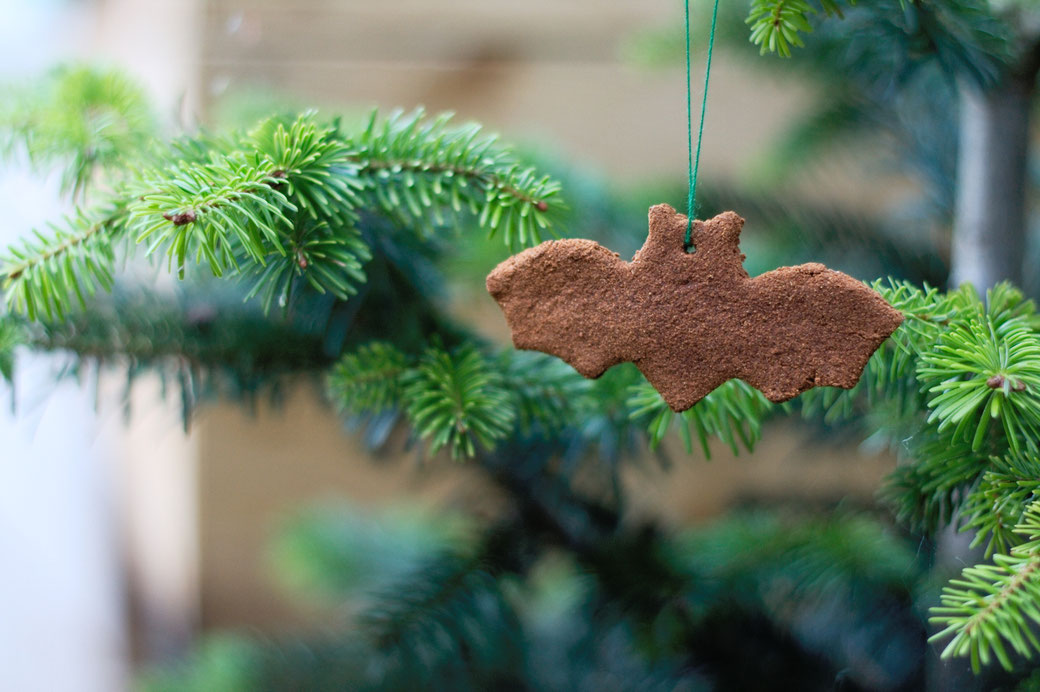
Cinnamon Bats
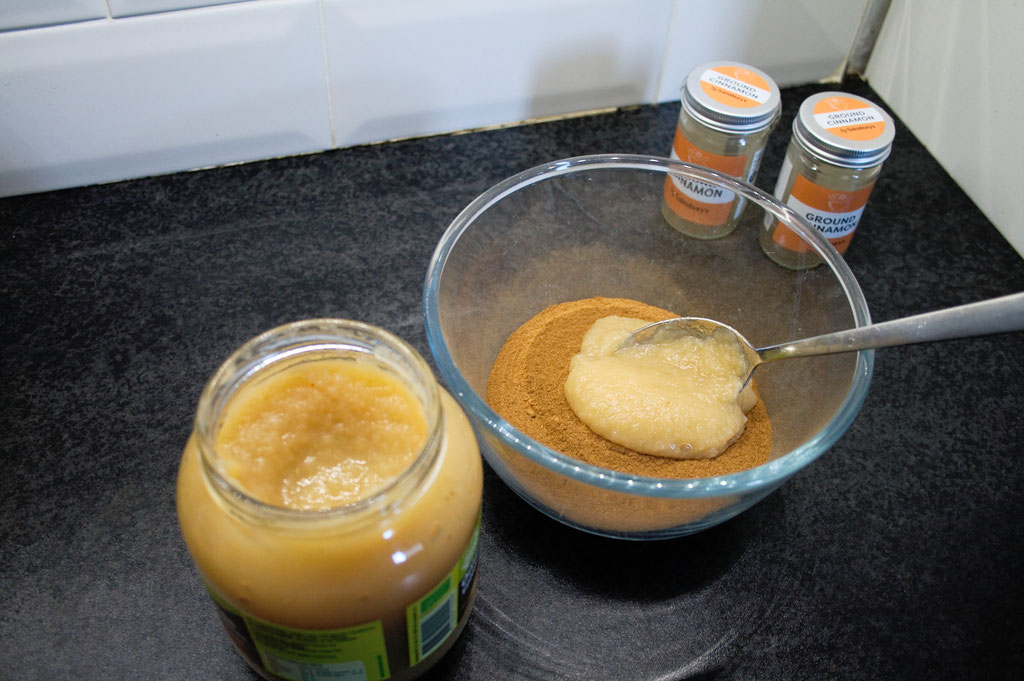
Yes, cinnamon bats! I was inspired by Mara Macabres cinnamon stars but wanted to use my bat-shaped cookie cutters. The
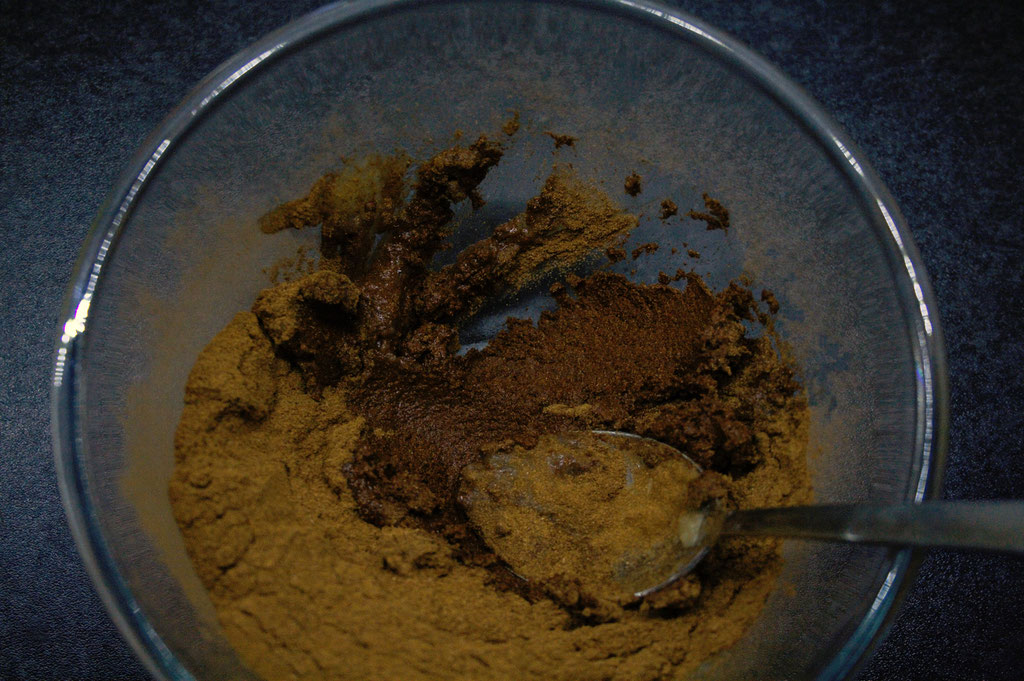
recipe is easy; it just consists of cinnamon and applesauce. For just under 80 g, I used about six tablespoons of applesauce to make a kneadable dough out of the cinnamon. As my
applesauce was without sugar, I added some honey to make it less crumbly.

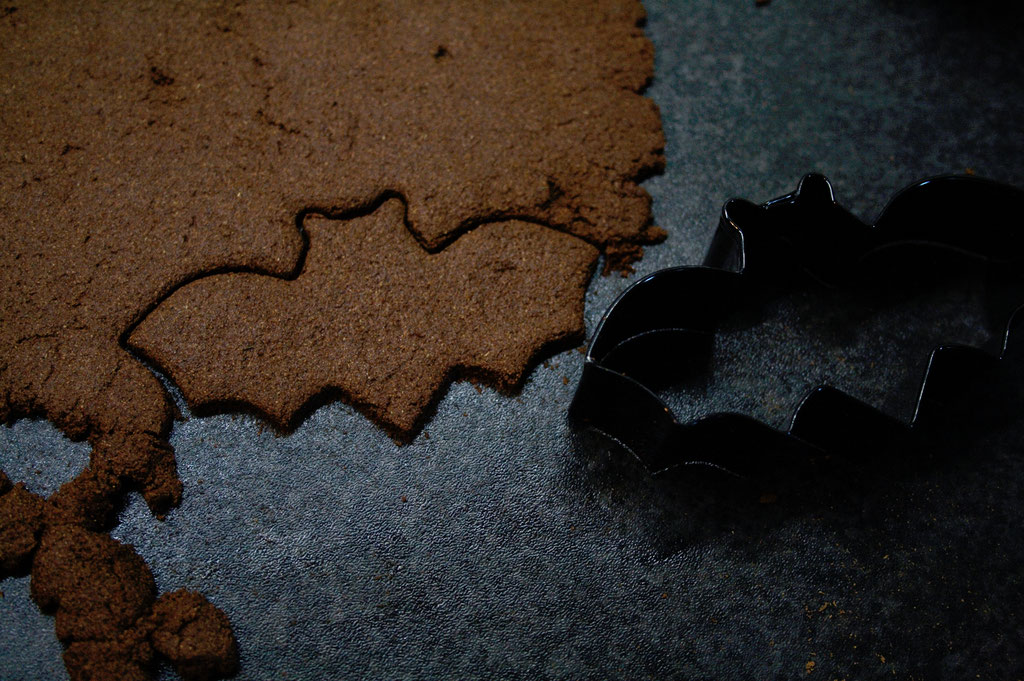
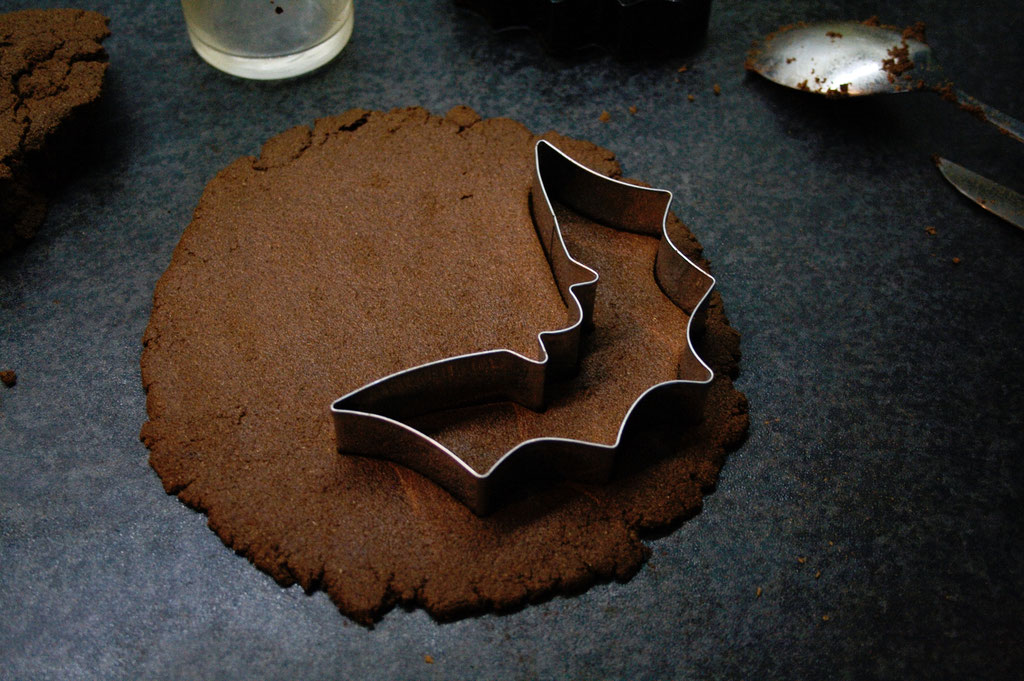
For rolling out, you need some more cinnamon on the surface. I used a glass instead of a wooden rolling pin - didn't want the next homemade pizza to taste strange.
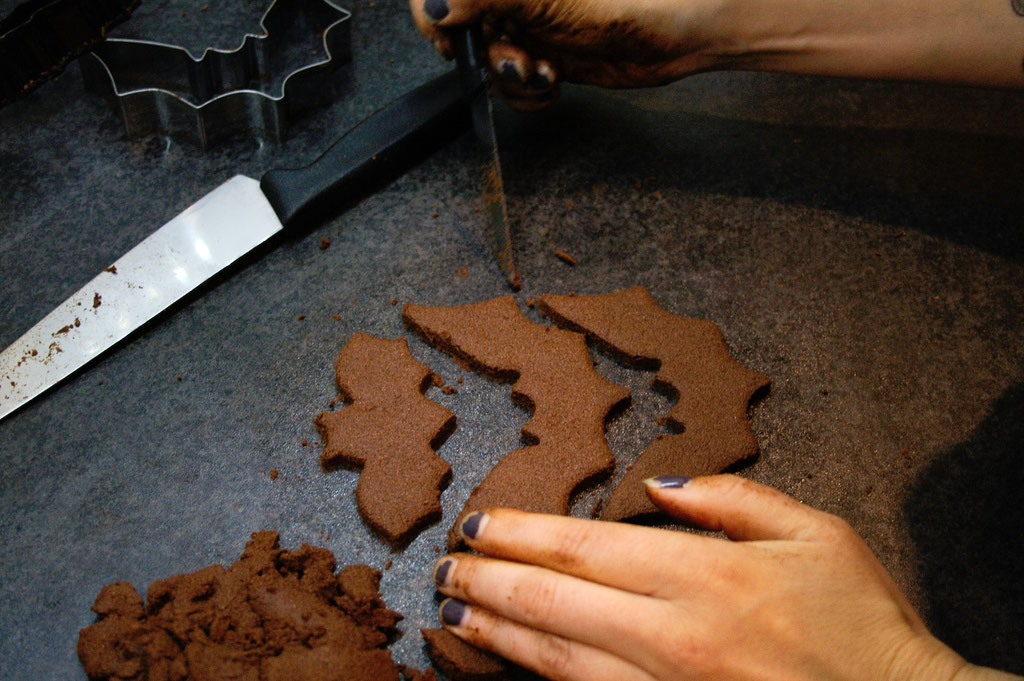
Then it's just like making cookies. The dough should be about 5 mm thick so that the bats won't break so easily. I used a large knife to get them onto the baking tray. After two hours at 90°C,
they were completely dry.
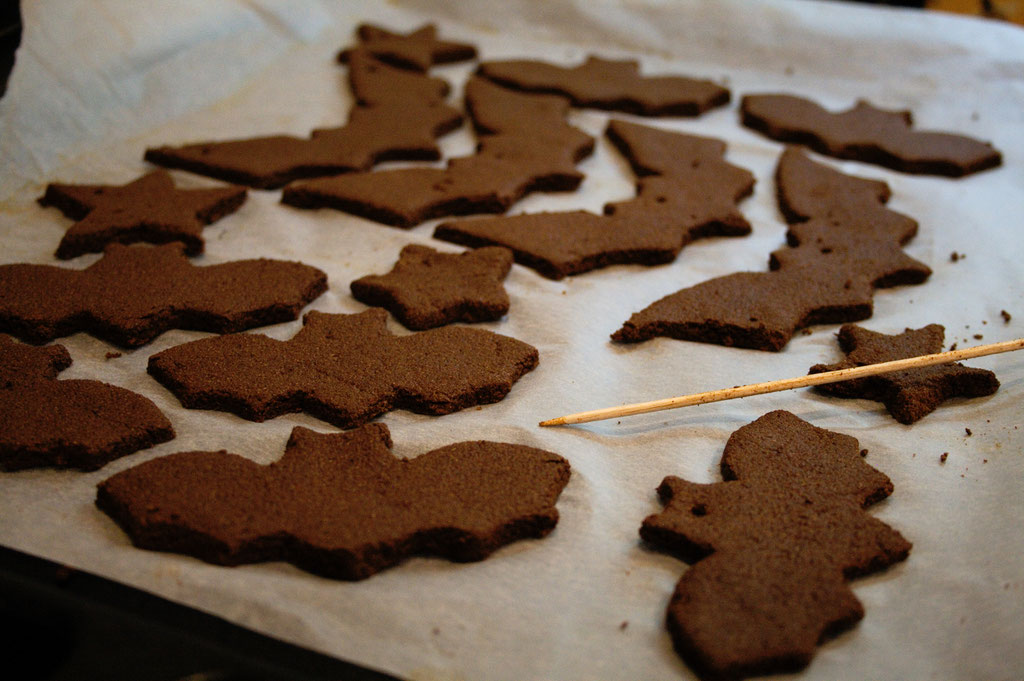

But before, I drilled holes with a wooden skewer to hang them up. I used a thick thread because the holes in the heads were a little too small for ribbons. In
retrospect, I could have made a few holes at the bottom to hang them upside down - especially the big ones, because the wings are unevenly heavy and pull to the side. They smell so lovely and can
stick around until after Christmas.
Have you started preparing for Hallow een yet? There's definitely enough time to try one or more DIY projects. The following Halloween DIY post will be at the
beginning of October and feature a paper garland, a candle holder and a cross-stitch.
Zebraspider Updates
Don't miss any new one-of-a-kind design! Be the first to know about shop updates, events and the best blog posts by joining the email list!
You may also be interested in:


Write a comment
Anett (Wednesday, 15 September 2021 23:03)
Immer noch gute Ideen ^.^
Janina (Thursday, 16 September 2021 10:20)
Vielen Dank, Anett! :)